Mastering 3D Printing: Cost-Effective Solutions for Custom Jewelry Holders and Unique Gadgets
Share
Introduction to 3D Printing
3D printing has emerged as a transformative technology that has changed the landscape of manufacturing and personal creativity. From industrial applications to everyday hobbies, 3D printing provides an accessible platform for creating customized items quickly and efficiently. This article will delve into how you can master 3D printing to produce cost-effective solutions for custom jewelry holders and unique gadgets that cater to your personal style and needs.
The Benefits of 3D Printing
Before diving into the intricacies of 3D printing, it’s essential to understand why this technology has gained immense popularity:
- Customization: One of the most significant advantages of 3D printing is the ability to create items tailored to individual specifications. Whether you want a jewelry holder in a specific shape or a gadget that fits perfectly in your hand, 3D printing allows for complete customization.
- Cost-Effectiveness: Creating items through 3D printing can often be more economical than traditional manufacturing processes. With the ability to produce items on demand, you can reduce waste and lower production costs.
- Rapid Prototyping: The ability to quickly create prototypes is invaluable. You can design, print, and test your ideas in a fraction of the time it would take with conventional methods, allowing for faster iteration and improvement.
- Accessibility: With the increasing availability of affordable 3D printers and materials, more people can engage in 3D printing, making it a hobby that anyone can pursue.
- Learning Opportunities: Engaging with 3D printing fosters skills in design, engineering, and technology. It’s a great way to learn about digital fabrication and expand your creative capabilities.
Choosing the Right 3D Printer
When it comes to 3D printing, the first step is selecting the right printer for your projects. Here are some critical factors to consider:
- Print Quality: Look for printers that offer high resolution and detail. Consider printers with a minimum layer height of 0.1mm for finer details.
- Build Volume: Ensure the printer can accommodate your desired object sizes. A larger build volume allows for more extensive projects but may come at a higher price.
- Material Compatibility: Different printers support various materials. Make sure to choose a printer that can work with the filaments or resins you plan to use.
- Ease of Use: Look for user-friendly interfaces, as well as readily available support and documentation, especially if you are a beginner.
- Price: Evaluate your budget and find a printer that offers the best value without compromising critical features.
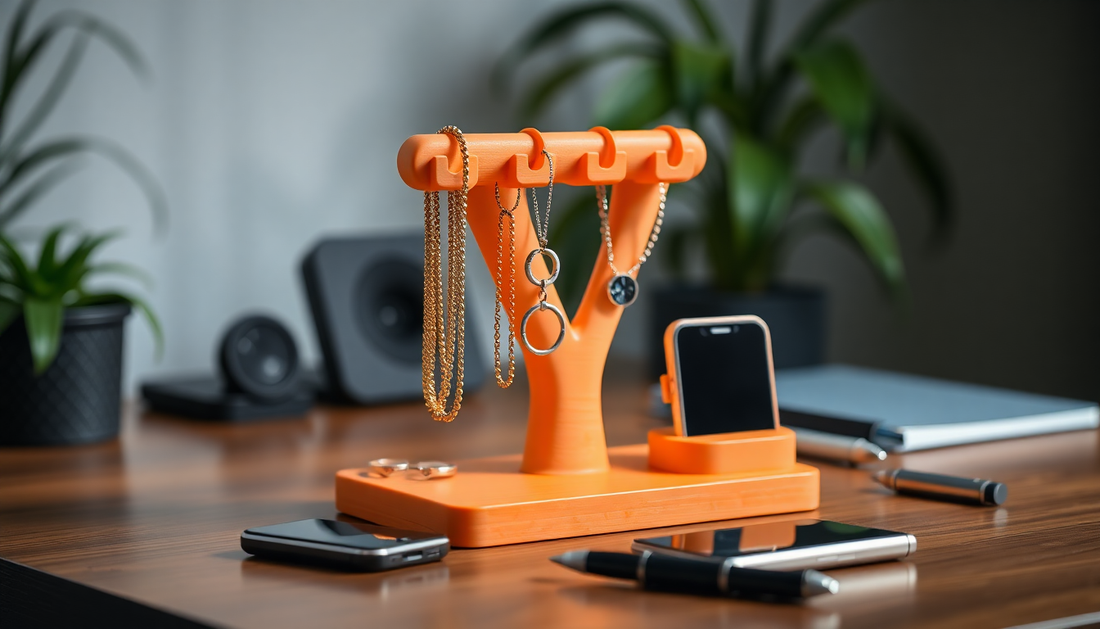
Designing Custom Jewelry Holders
Jewelry holders are not only practical but can also serve as beautiful decor pieces. Here’s how to design your custom holders:
- Sketch Your Ideas: Begin with rough sketches to visualize your design. Consider the types of jewelry you need to store, such as earrings, necklaces, or rings, and design accordingly.
- Use Design Software: Software like Tinkercad, Fusion 360, or Blender can help you create detailed designs. Tinkercad is particularly user-friendly for beginners.
- Consider Functionality: Make sure your holder is not only visually appealing but also functional. Think about how easy it will be to access and organize your jewelry.
- Incorporate Unique Elements: Add personal touches, such as your initials or favorite colors, to make your jewelry holder truly unique.
- Test Print: Create a small prototype of your design to test its functionality and aesthetics before committing to a full print.
Creating Unique Gadgets
3D printing opens the door for crafting unique gadgets that can enhance your daily life. Here’s a step-by-step guide:
- Identify a Need: Start by identifying everyday problems you encounter. Think about gadgets that could simplify tasks or make your life easier.
- Brainstorm Designs: Sketch multiple ideas and consider features that enhance usability. For instance, a phone stand that can adjust its angle or a multi-tool that combines various functions.
- Iterate: Don’t hesitate to revise your designs based on testing and feedback. The first version may not always be the best, so keep refining your ideas.
- Engage with Online Communities: Share your designs on platforms like Thingiverse or MyMiniFactory. The feedback from the community can help you improve your creations.
- Showcase Your Gadgets: Once you have a finished product, consider showcasing it on social media or local maker fairs to inspire others.
Cost-Effective Solutions for Materials
Choosing the right materials is crucial for cost-efficiency in 3D printing. Here are some cost-effective material options:
- PLA Filament: PLA (Polylactic Acid) is one of the most common 3D printing materials. It’s affordable, easy to print, and biodegradable, making it an excellent choice for beginners.
- ABS Filament: ABS (Acrylonitrile Butadiene Styrene) is durable and suitable for functional prototypes. It's slightly more challenging to work with due to warping but is great for sturdy items.
- TPU Filament: TPU (Thermoplastic Polyurethane) is a flexible material perfect for producing items that require elasticity, such as phone cases or wearable gadgets.
- Resin: Resin printing offers high detail and smooth finishes, ideal for intricate designs. While it can be pricier, it’s worth it for specific applications.
- Recycled Plastics: Some filaments are made from recycled plastics, providing an eco-friendly option that can be more affordable and sustainable.
Post-Processing Techniques
After printing, post-processing can enhance the appearance and functionality of your 3D printed items. Here are some techniques to consider:
- Sanding: Smooth out rough edges and surfaces using sandpaper to create a polished look.
- Painting: Use acrylic paints to color your printed items and add a personal touch. Make sure to use a primer for better paint adhesion.
- Sealing: Consider applying a sealant to protect your items from moisture and wear, especially for functional gadgets.
- Assembly: For complex designs, you may need to assemble multiple parts. Ensure all pieces fit together correctly for optimal performance.
Conclusion
Mastering 3D printing opens up a world of possibilities for creating custom jewelry holders and unique gadgets that reflect your style and improve your daily life. By selecting the right equipment, using effective design practices, and exploring cost-effective materials, you can bring your creative visions to life. Start experimenting with your 3D printer today, and discover the endless potential that this technology has to offer!